STM32MP257F-EV1 Board TEVS Camera Usage Guide
🚀 Introduction
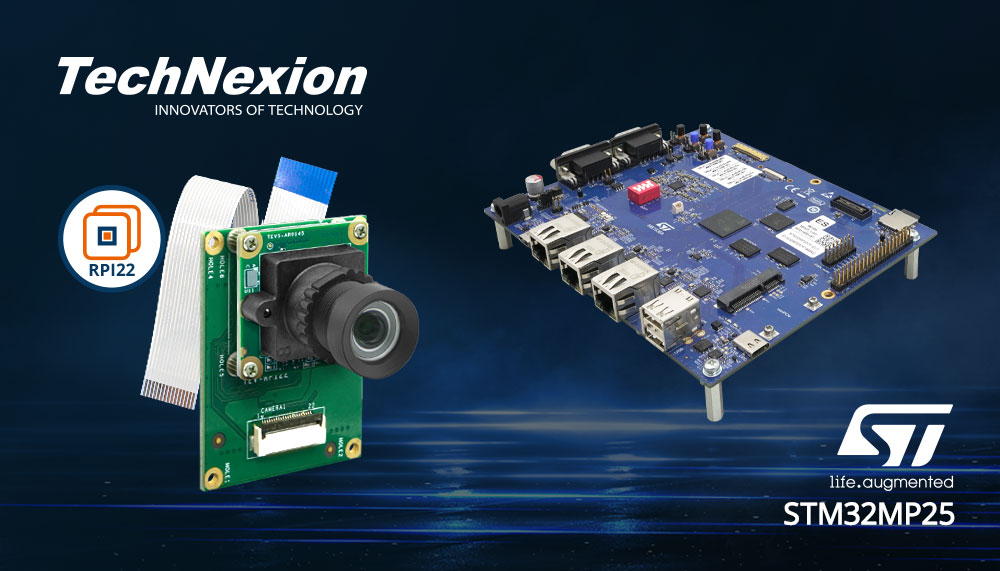
This guide shows you how to get started using TechNexion camera modules on ST STM32MP257F-EV1 board.
📸 Supported Camera Modules
| Camera Series | Products |
|---|---|
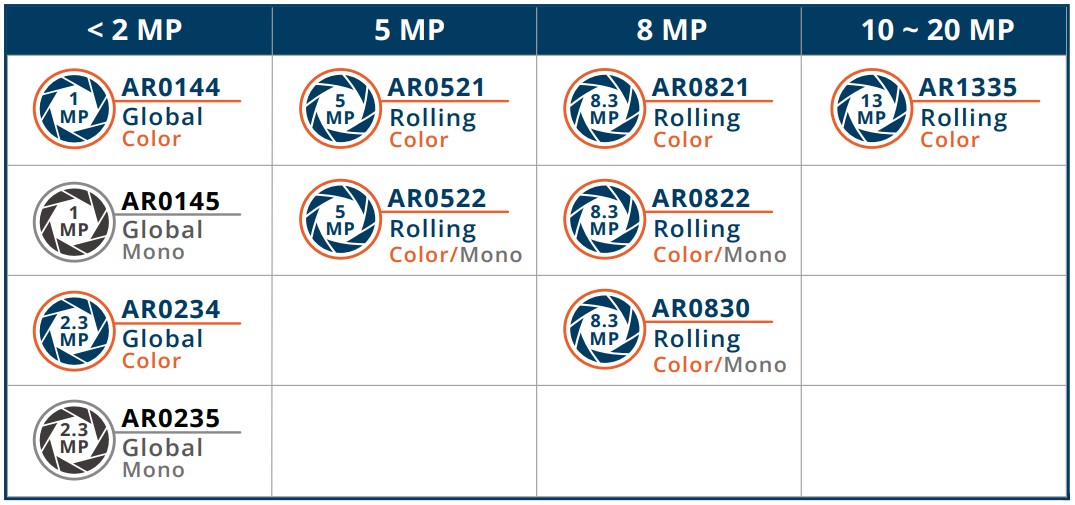
| TEVS | TEVS-AR0144 TEVS-AR0145 TEVS-AR0234 TEVS-AR0235 TEVS-AR0246 TEVS-AR0521 TEVS-AR0522 TEVS-AR0544 TEVS-AR0821 TEVS-AR0822 TEVS-AR0830 TEVS-AR1335 TEVS-AR2020 |
Check here ! 🔗 TechNexion Embedded Vision Solutions
Find out the solution which can accelerate your time to market for embedded vision projects.
🧩 Supported ST Developer Kit
| SoM | Board |
|---|---|
| STM32MP257F | STM32MP257F-EV1 |
🔧 Hardware Setup Instructions
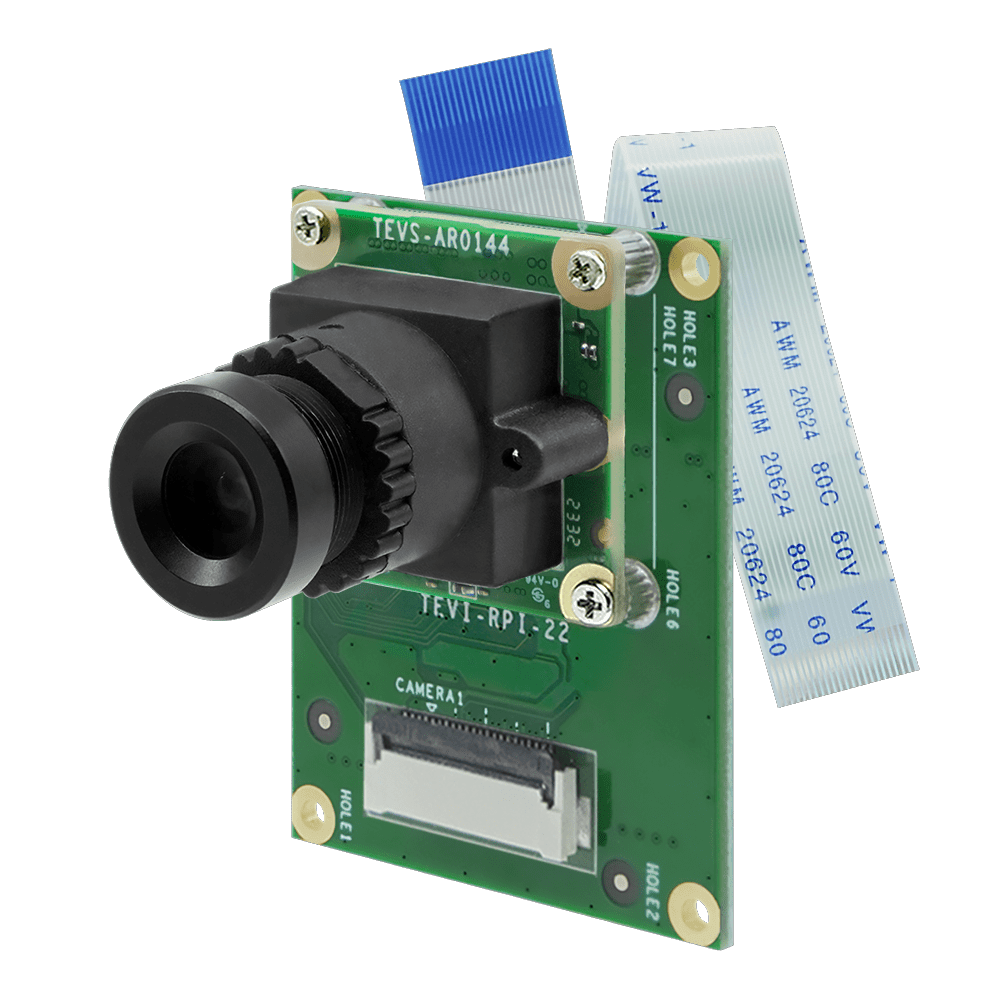
1. Connect the Adapter Board and Camera Cable
To set up the TechNexion camera, connect the adapter board and camera cable to the MIPI CSI port on the EVK board.
| Developer Kit | Adapter board | Camera Kit |
|---|---|---|
| STM32MP257F-EV1 | TEV-RPI22 Adapter | TechNexion EVK RPI22 |
2. Connect the STM32MP257F-EV1 Board to the Adapter Board
Follow this demo video to connect the adapter and cable to the CSI connector on the board.
💻 Driver Installation Instructions
It has been verified with stm32mp25-openstlinux-6.1-yocto-mickledore-mp2-v23.12.06, you can get from here : 🔗 STM32MP2 OpenSTLinux Developer Package
Method 1 - TechNexion Pre-built Image
We provide a pre-built image to simplify using TEVS camera. It will autorun a demo script for camera streaming.
🔽 Downloading the Demo Image
Prebuilt demo images are available for download on TechNexion's official server.
Download Link:
🔗 STM32MP257F Image Download Link
This image is based on Revision A of STM32MP257F-EV1. The FSBL header differs from other versions and will not boot on them. Please use Method 2 to add the camera driver and build your own image.
💾 Flashing the Image
1. Install necessary tool.
$ sudo apt-get update
$ sudo apt-get install -y tar
2. Extract the pre-built image
$ tar zxvf stm32mp257f-ev1_yocto-6.1_20241224.tar.gz
3. Flash to Micro-SD Card
Use dd to flash the image to the Micro-SD Card
# ${device} is your device path name, such as "/dev/sdb"
$ umount ${device}?
$ sudo dd if=stm32mp257f-ev1_yocto-6.1_20241224.img \
          of=${device} bs=1M status=progress
Method 2 - Build the TEVS driver and device tree patch
Please reference 🔗 How to install the SDK and follow the steps below:
1. Download the camera driver and device tree patch
$ git clone git@github.com:TechNexion-Vision/ST-Camera-Driver.git
$ cd ST-Camera-Driver/
~/ST-Camera-Driver$ git checkout linux-6.1.28
2. Copy driver to your kernel source code
~/ST-Camera-Driver$ mv -r driver/media/i2c/tevs/ <fetch_kernel_folder>/driver/media/i2c/
3. Apply the device tree patch
~/ST-Camera-Driver$ patch -d ./linux-6.1.28 -p1 < TechNexion_TEVS_DeviceTree.patch
4. Modify makefile to add driver
$ cd <fetch_kernel_folder>/driver/media/i2c/
~/<fetch_kernel_folder>/driver/media/i2c/$ vi Makefile
Add this line in Makefile.
obj-$(CONFIG_VIDEO_TEVS) += tevs/
Modify Kconfig to add camera config
~/<fetch_kernel_folder>/driver/media/i2c/$ vi Kconfig
Add this part under Camera sensor devices menu in Kconfig.
config VIDEO_TEVS
tristate "TechNexion TEVS sensor support"
depends on OF
depends on GPIOLIB && VIDEO_V4L2 && I2C && VIDEO_V4L2_SUBDEV_API
depends on MEDIA_CAMERA_SUPPORT
default y
select V4L2_FWNODE
help
   This is a Video4Linux2 sensor driver for the TechNexion
   TEVS camera sensor with a MIPI CSI-2 interface.
5. Compile the kernel & module driver
Finally you can start compiling your new Image files, then copy and replace the Image files and add camera dtb overlay file in the SD card.
📸 Instructions for Testing Camera
The launch demo at start, which is /usr/local/demo/demo_launcher.py and this script is called by /usr/local/weston-start-at-startup/start_up_demo_launcher.sh.
The pre-built image is based on ST's startup, so the default launch demo application does not support TechNexion cameras. To use TechNexion cameras, you can disable the demo manually.
The TEVS cameras have ISP calibration that can bypass the ST ISP (dcmipp_main_isp).
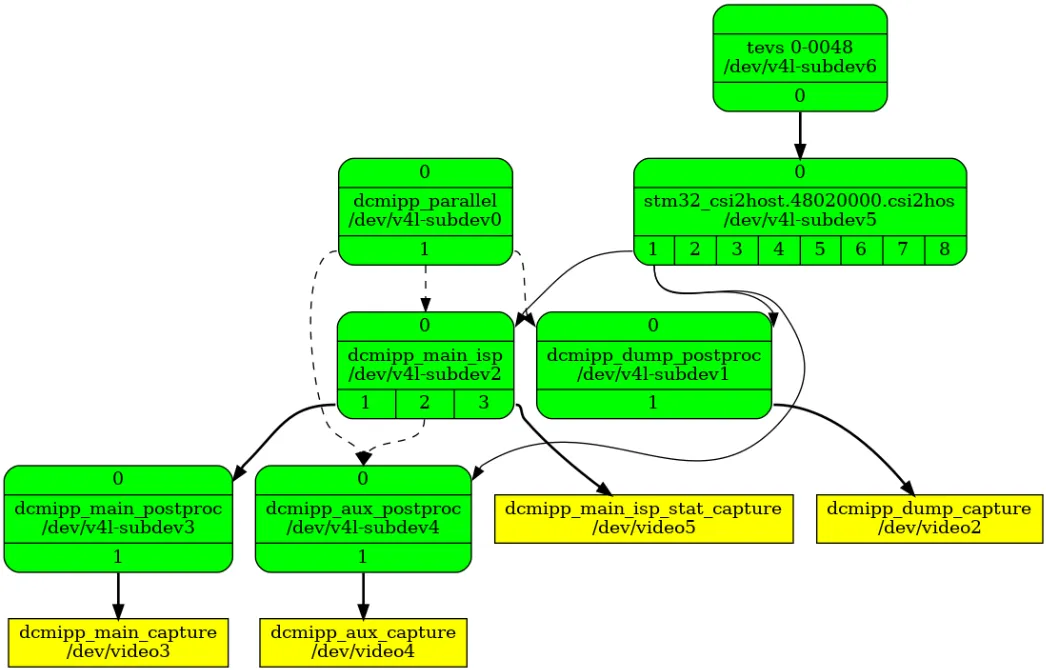
Camera subsystem setup :
Setting up the camera subsystem using the media control framework.
# set format 1280x720  for example
media-ctl -d /dev/media2 --set-v4l2 "'tevs 0-0048':0 [fmt:UYVY8_2X8/1280x720@1/30 field:none]"

media-ctl -d /dev/media2 --set-v4l2 "'dcmipp_dump_postproc':0 [fmt:UYVY8_2X8/1280x720@1/30 field:none]" -v
media-ctl -d /dev/media2 --set-v4l2 "'dcmipp_dump_postproc':1 [fmt:UYVY8_2X8/1280x720@1/30 field:none]" -v

media-ctl -d /dev/media2 --set-v4l2 "'stm32_csi2host.48020000.csi2hos':0 [fmt:UYVY8_2X8/1280x720@1/30 field:none]"
media-ctl -d /dev/media2 --set-v4l2 "'stm32_csi2host.48020000.csi2hos':1 [fmt:UYVY8_2X8/1280x720@1/30 field:none]"
🎥 Start Camera Video Stream via GStreamer
Launch GStreamer Pipeline
Specify the capture device you just get (/dev/video2) and start GStreamer to get the video stream with 1280x720 on the display :
$ gst-launch-1.0 v4l2src device=/dev/video2 ! \
  video/x-raw, format=UYVY, width=1280,height=720, framerate=30/1 ! \
  videoconvert ! waylandsink