Step-by-Step LVGL Development Guide for AXON/EDM-IMX91 and AXON/EDM-IMX93
- 06 May 2025
- 4 Minutes to read
- Print
- DarkLight
- PDF
Step-by-Step LVGL Development Guide for AXON/EDM-IMX91 and AXON/EDM-IMX93
- Updated on 06 May 2025
- 4 Minutes to read
- Print
- DarkLight
- PDF
Article summary
Did you find this summary helpful?
Thank you for your feedback!
Applicable Platforms
This guide applies to the following SOMs.
- AXON-IMX91
- AXON-IMX93
- EDM-IMX91
- EDM-IMX93
Introduction
This guide demonstrates how to deploy the Light and Versatile Graphics Library (LVGL), a lightweight open-source GUI framework, on TechNexion’s AXON/EDM boards. LVGL is ideal for MPUs without 3D GPU acceleration, such as the NXP i.MX91 or the i.MX93 (which includes 2D PXP acceleration). By following these steps, developers can create, customize, and test LVGL-based interfaces using NXP GUI Guider and Yocto.
LVGL offers intuitive widgets, low memory usage (ideal for resource-constrained systems), and cross-platform compatibility. Its MIT license ensures commercial-friendly use, making it a popular choice for IoT, industrial, and automotive applications. These boards provide the hardware foundation—such as pre-supported touch panels of various types, camera interfaces, and Linux Weston integration—to deploy LVGL effectively.
Prerequisites
- Ubuntu Linux development environment (20.04 LTS or newer)
- At least 100GB of free disk space
Part 1: Building the BSP (Board Support Package)
1.1 Set Up the Build Environment
Begin by configuring your Yocto environment to build the BSP:
Create a directory for your release and initialize the Yocto repository:
mkdir imx91_release && cd imx91_release
repo init -u https://github.com/TechNexion/tn-imx-yocto-manifest.git -b scarthgap_6.6.y-stable -m imx-6.6.52-2.2.0.xml
repo sync
Configure the build for your board and populate the SDK:
WIFI_FIRMWARE=y DISTRO=fsl-imx-xwayland MACHINE=axon-imx91 source tn-setup-release.sh -b build-xwayland-axon-imx91
bitbake imx-image-full -c populate_sdk
This step prepares a cross-compilation toolchain tailored for the i.MX91 hardware.
1.2 Install the Yocto Toolchain
After the build completes, install the SDK toolchain to compile applications for your board:
cd tmp/deploy/sdk

# Install the toolchain (sudo may be required)
sudo sh ./fsl-imx-xwayland-glibc-x86_64-imx-image-full-armv8a-imx93evk-toolchain-6.6-scarthgap.sh
Follow the on-screen instructions to complete the installation.

1.3 Install Required Utilities
Install the Ninja (a fast build system compatible with CMake):
sudo apt install ninja-build

Part 2: Installing GUI Guider
2.1 Download GUI Guider
Download the NXP GUI Guider installer from the NXP official website.

2.2 Install GUI Guider
# Install the downloaded .deb package
sudo apt install ./Gui-Guider-Setup-1.9.0-GA.deb

Part 3: Creating an LVGL Project with GUI Guider
3.1 Launch GUI Guider
Open GUI Guider from your applications menu or run it from the terminal:
gui-guider
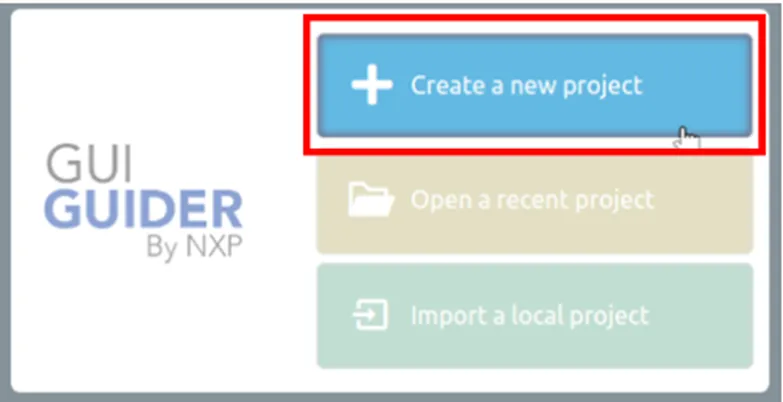
3.2 Create a New Project
Click on "Create New Project" in the welcome screen
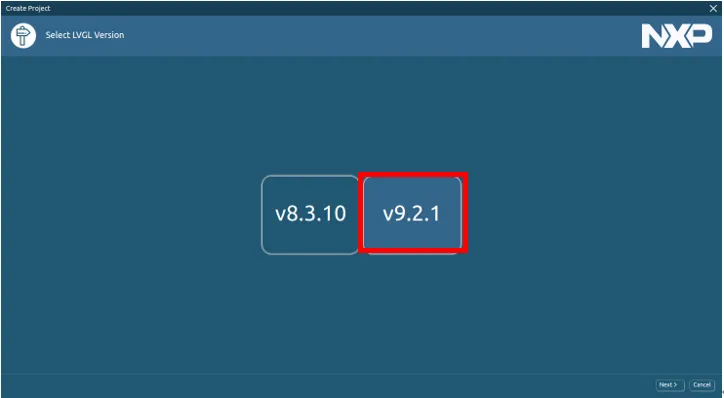
In the "Select LVGL Version" screen, choose LVGL v9.2.1
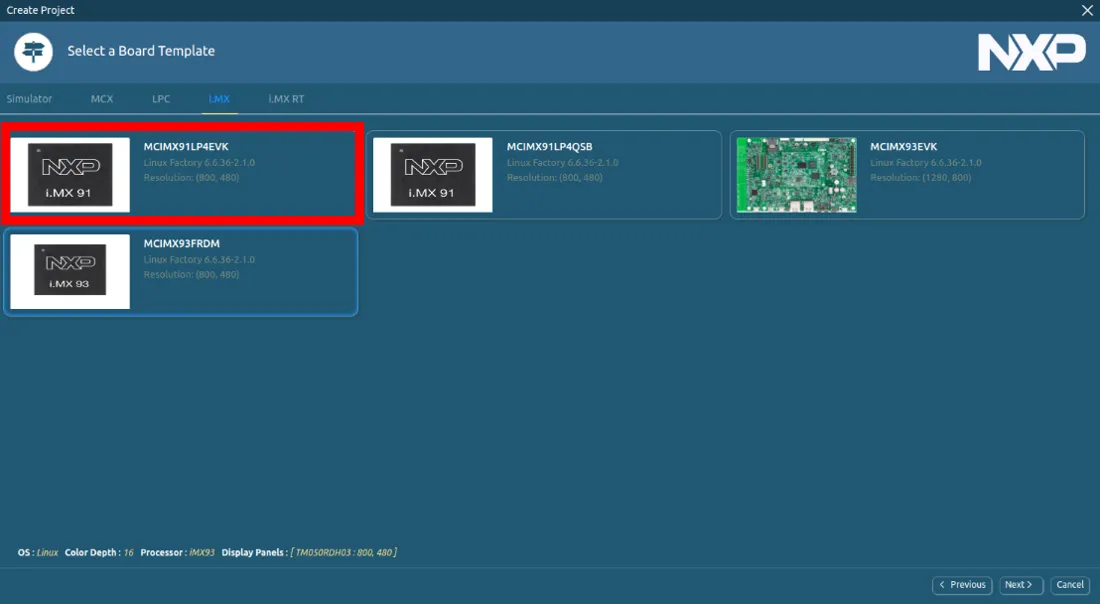
Select i.MX91 as your development board
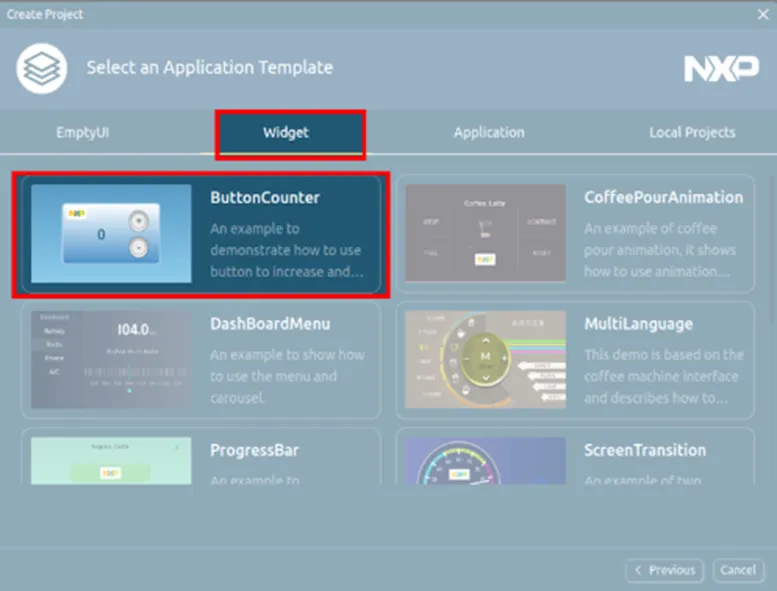
Choose the ButtonCounter example project (you can explore other examples later)
Configure project details:
- Project Name:
Button0_example(or your preferred name with letter ,number and underscore) - Project Location: Choose a convenient directory
- Panel Size: Default or customize as needed (e.g., 800x480)
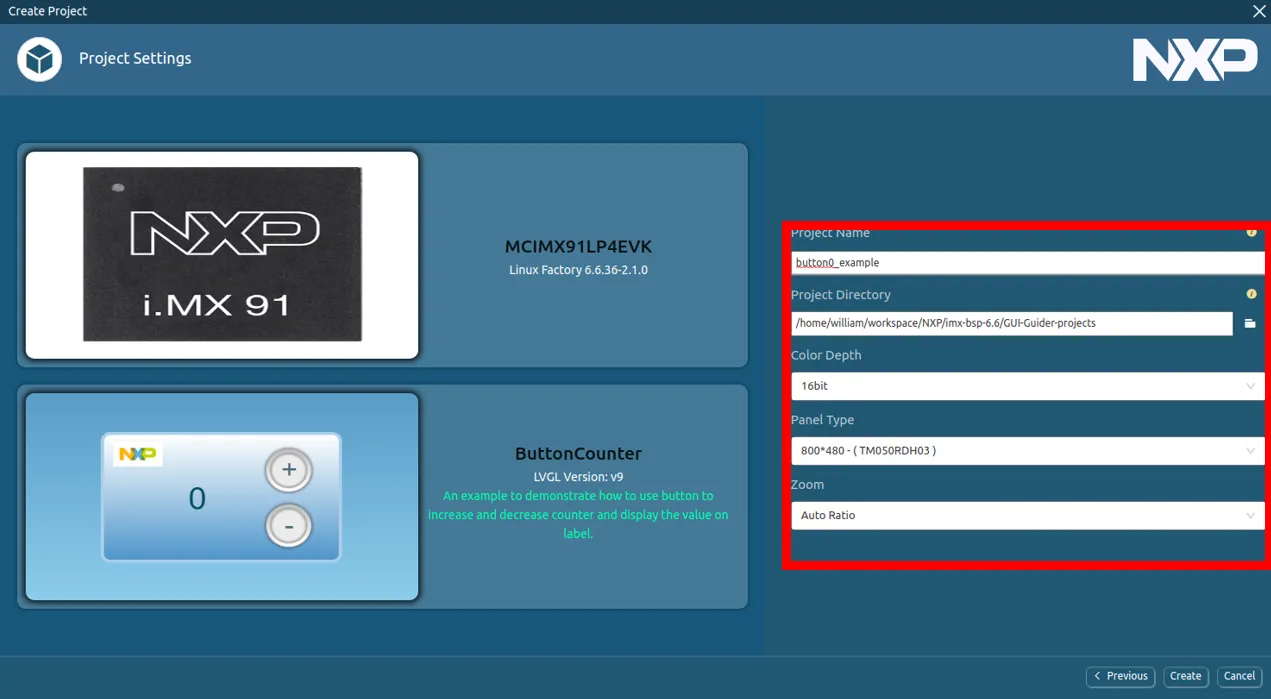
- Project Name:
Click "Create" to generate the project


3.3 Explore and Customize
The GUI Guider interface allows you to:
- View and modify UI elements in the design view
- Edit properties in the properties panel
- Add new widgets from the widget toolbar
- Write event handlers in the events tab
Make any customizations you want to the project.
Part 4: Building Your LVGL Application
4.1 Using GUI Guider's Built-in Compiler
In GUI Guider, go to Project > Build > Yocto
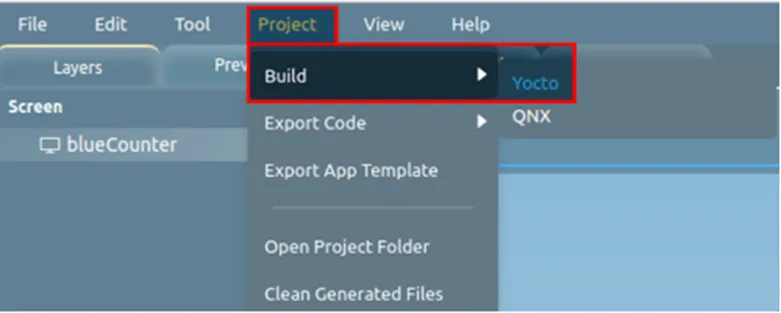
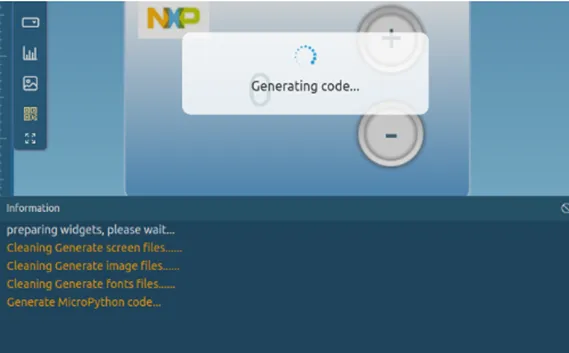
The build process will start automatically
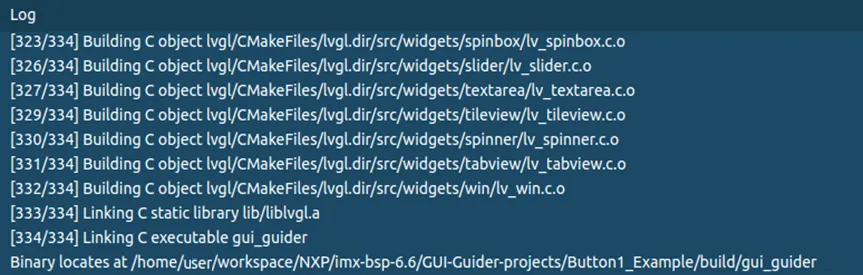
Once complete, a log message will confirm that the
gui_guiderexecutable has been generated in thebuild/folder


4.2 Manually Building (Alternative Method)
If you prefer to build manually or need more control:
# Navigate to your project directory
cd /path/to/your/ButtonCounter/project

# Source the Yocto SDK environment
source /opt/fsl-imx-xwayland/6.6-scarthgap/environment-setup-armv8a-poky-linux

# Run CMake to configure the project
cmake -GNinja -B build

# Build the project
ninja -C build
Part 5: Deploying to the Development Board
5.1 Prepare Your Board
- Ensure your target board is powered on and connected to your network
- Go to the root filesystem
5.2 Copy the LVGL Application
# Copy the executable to the board's filesystem
cp build/gui_guider /media/username/root/usr/bin/
Alternatively, if your board is accessible via SSH:
scp build/gui_guider root@board-ip-address:/usr/bin/
5.3 Set Executable Permissions
# Ensure the executable has the right permissions
chmod +x /media/username/root/usr/bin/gui_guider
Part 6: Running the LVGL Demo
6.1 Run Directly on the Board
If you have a display and input devices connected to your board, you can run the demo directly:
# Run the GUI Guider application
/usr/bin/gui_guider

6.2 Configure Auto-start (Optional)
To automatically start the LVGL demo at boot:
- Create a systemd service file:
cat > /media/username/root/etc/systemd/system/gui-guider.service << EOF
[Unit]
Description=GUI Guider LVGL Demo
After=weston.service
Requires=weston.service

[Service]
Environment=DISPLAY=:0
Environment=XDG_RUNTIME_DIR=/run/user/0
ExecStart=/usr/bin/gui_guider
Restart=on-failure

[Install]
WantedBy=multi-user.target
EOF
- Enable the service:
# Enable the service to start at boot
ln -sf /media/username/root/etc/systemd/system/gui-guider.service /media/username/root/etc/systemd/system/multi-user.target.wants/gui-guider.service
Troubleshooting
Common Issues and Solutions
Black screen or no display output
- Check display connections
- Verify that Weston is running (
systemctl status weston) - Check Weston logs (
journalctl -u weston)
Build errors in GUI Guider
- Ensure the Yocto SDK is properly installed and sourced
- Check if all dependencies are installed
- Review build logs for specific errors
Input devices not working
- Check input device connections
- Verify input device drivers are loaded (
lsmod | grep input)
Application crashes on startup
- Run the application with debugging:
gdb --args /usr/bin/gui_guider - Check system logs:
journalctl -f
- Run the application with debugging:
References
Was this article helpful?