TechNexion TEVS Camera for Raspberry Pi 4
- 24 Mar 2025
- 5 Minutes to read
- Print
- DarkLight
- PDF
TechNexion TEVS Camera for Raspberry Pi 4
- Updated on 24 Mar 2025
- 5 Minutes to read
- Print
- DarkLight
- PDF
Article summary
Did you find this summary helpful?
Thank you for your feedback!
Introduction
TechNexion Embedded Vision Solutions provide embedded system developers access to high-performance, industrial-grade camera solutions to accelerate their time to market for embedded vision projects.
Support Camera Modules
Camera Series | Products |
|---|---|
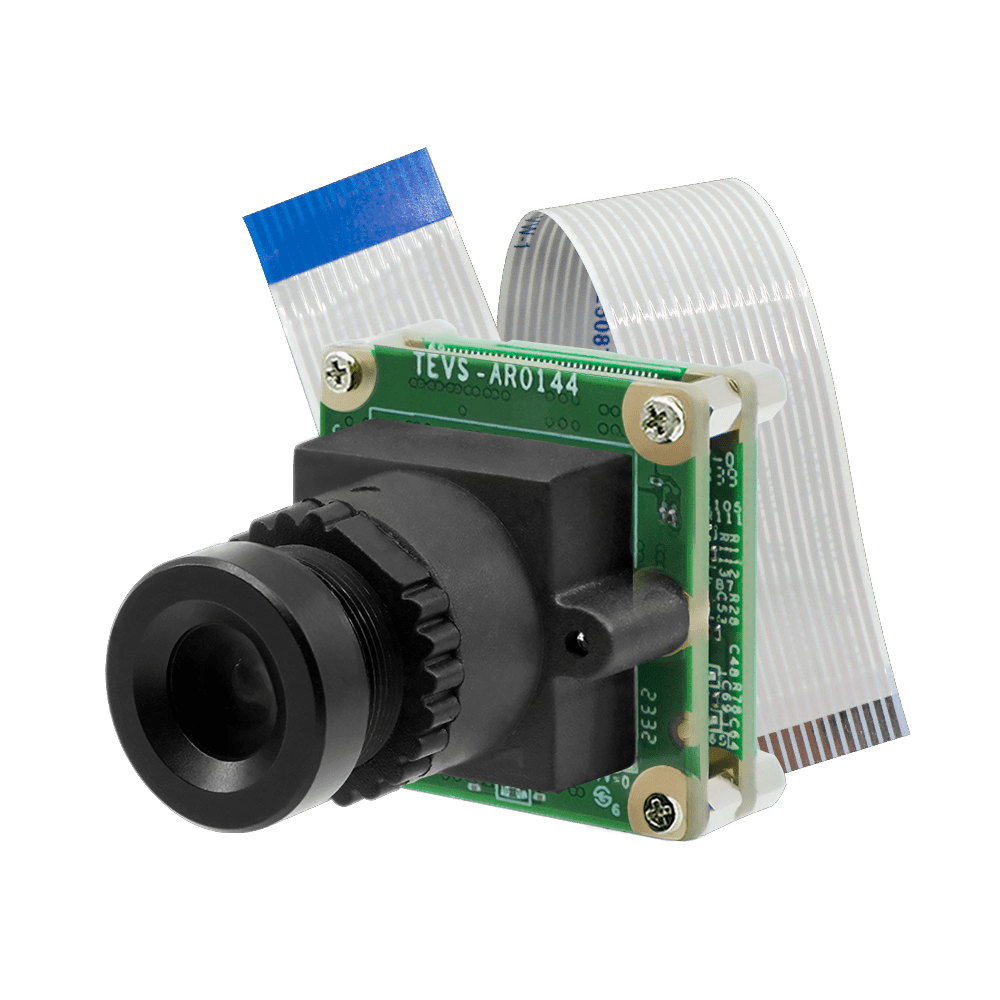
TEVS | TEVS-AR0144 |
More Camera Products Details...
Supported Raspberry Pi
Support System Version
Install TN Camera on Raspberry Pi
Adaptor for Raspberry Pi Camera
TEVS-RPI15 Adaptor for TEVS
Connect TEVS camera and TEVS-RPI15 adaptor to Raspberry Pi 4 Model B directly.
Method 1 - Using Technexion Pre-built modules
Make a SD card with "Raspberry Pi OS (64-bit) 2023-12-06 [kernel 6.1.y]" or "Raspberry Pi OS (64-bit) 2024-03-15 [kernel 6.6.y]" on Raspberry Pi Imager.
Boot RPI4 with SD card.
Download pre-built modules.
For "Raspberry Pi OS (64-bit) 2023-12-06 [kernel 6.1.y]":
$ wget https://download.technexion.com/demo_software/EVK/RPI/RPI4/pre-built-modules/latest/tn_camera_module_rpi4_6.1.y.tar.gzFor "Raspberry Pi OS (64-bit) 2024-03-15 [kernel 6.6.y]":
$ wget https://download.technexion.com/demo_software/EVK/RPI/RPI4/pre-built-modules/latest/tn_camera_module_rpi4_6.6.y.tar.gzUncompress the modules.
For "Raspberry Pi OS (64-bit) 2023-12-06 [kernel 6.1.y]":
$ tar -xf tn_camera_module_rpi4_6.1.y.tar.gzFor "Raspberry Pi OS (64-bit) 2024-03-15 [kernel 6.6.y]":
$ tar -xf tn_camera_module_rpi4_6.6.y.tar.gzRun installation script.
For "Raspberry Pi OS (64-bit) 2023-12-06 [kernel 6.1.y]":
$ cd tn_camera_module_rpi4_6.1.y/
$ sh tn_install.sh
****** TechNexion Camera Driver Installation ******
This installation is easy to install TechnNexion Camera Drivers for Raspberry Pi 4.
Before start to install camera driver, You should BACKUP your image and config
to avoid any file you lost while installing process.
Do you want to continue?[Y/n]y
Continuing with the installation...
Install TN-CAM modules: tevs.ko.xz
Installed TN-CAM module file Done.
Install TN-CAM DTBO file: tevs-rpi15.dtbo
Installed TN-CAM DTBO file Done.
Add TN-CAM Configuration for modules: tevs-rpi15
Install TN-CAM service...
Launch TN-CAM Service...
Created symlink /etc/systemd/system/multi-user.target.wants/tn_cam.service → /etc/systemd/system/tn_cam.service.
Finish Camera Driver Installation. Return Code:[1]
You should Reboot Device to enable TEVS Cameras.
Do you want to reboot now?[Y/n]y
Rebooting....
For "Raspberry Pi OS (64-bit) 2024-03-15 [kernel 6.6.y]":
$ cd tn_camera_module_rpi4_6.6.y/
$ sh tn_install.sh
****** TechNexion Camera Driver Installation ******
This installation is easy to install TechnNexion Camera Drivers for Raspberry Pi 4.
Before start to install camera driver, You should BACKUP your image and config
to avoid any file you lost while installing process.
Do you want to continue?[Y/n]y
Continuing with the installation...
Install TN-CAM modules: tevs.ko.xz
Installed TN-CAM module file Done.
Install TN-CAM DTBO file: tevs-rpi15.dtbo
Installed TN-CAM DTBO file Done.
Add TN-CAM Configuration for modules: tevs
Install TN-CAM service...
Launch TN-CAM Service...
Created symlink /etc/systemd/system/multi-user.target.wants/tn_cam.service → /etc/systemd/system/tn_cam.service.
Finish Camera Driver Installation. Return Code:[1]
You should Reboot Device to enable TEVS Cameras.
Do you want to reboot now?[Y/n]y
Rebooting....
Method 2 - Build drivers from source code (cross-compiling)
You can reference Raspberrypi Documentation - Building the kernel.
Make sure the dependencies
$ sudo apt install -y git bc bison flex libssl-dev make libc6-dev libncurses5-dev

# Install the 64-bit toolchain for a 64-bit kernel
$ sudo apt install -y crossbuild-essential-arm64
Get the kernel sources
For "Raspberry Pi OS (64-bit) 2023-12-06 [kernel 6.1.y]":
# raspberrypi linux kerbel
$ git clone --depth=1 -b rpi-6.1.y https://github.com/raspberrypi/linux

# technexion rpi camera driver
$ git clone --depth=1 -b tn_rpi_kernel-6.1 https://github.com/TechNexion-Vision/tn-rpi-camera-driver.git
For "Raspberry Pi OS (64-bit) 2024-03-15 [kernel 6.6.y]":
# raspberrypi linux kerbel
$ git clone --depth=1 -b rpi-6.6.y https://github.com/raspberrypi/linux

# technexion rpi camera driver
$ git clone --depth=1 -b tn_rpi_kernel-6.6 https://github.com/TechNexion-Vision/tn-rpi-camera-driver.git
Copy TN rpi camera driver to raspberrypi linux kernel
$ cp -rv tn-rpi-camera-driver/drivers/media/i2c/* linux/drivers/media/i2c/
$ cp -rv tn-rpi-camera-driver/arch/arm64/boot/dts/overlays/* linux/arch/arm64/boot/dts/overlays/
Build sources
$ cd linux
$ KERNEL=kernel8

# default configuration
$ make distclean
$ make ARCH=arm64 CROSS_COMPILE=aarch64-linux-gnu- bcm2711_defconfig
configuring camera and building kernel image.
# config camera
$ make menuconfig
# -> Device Drivers
#   -> Multimedia support
#     -> Media ancillary drivers
#       -> Camera sensor devices
#         -> TechNexion TEVS sensor support
#            Set "VIDEO_TEVS" to module,
#            Press "m", save to original name (.config) and exit

# build kernel
$ mkdir -p modules
$ MODULE_PATH=./modules
$ make ARCH=arm64 CROSS_COMPILE=aarch64-linux-gnu- LOCALVERSION="-tn-raspi" -j$(nproc) Image modules dtbs
$ sudo make ARCH=arm64 CROSS_COMPILE=aarch64-linux-gnu- INSTALL_MOD_PATH=$MODULE_PATH modules_install
Plug in the SD card which burned "Raspberry Pi OS (64-bit) 2023-12-06 [kernel 6.1.y]" or "Raspberry Pi OS (64-bit) 2024-03-15 [kernel 6.6.y]" to PC
Install onto the SD card
$ sudo cp arch/arm64/boot/Image /media/$(users)/bootfs/$KERNEL.img
$ sudo cp arch/arm64/boot/dts/broadcom/*.dtb /media/$(users)/bootfs
$ sudo cp arch/arm64/boot/dts/overlays/*.dtb* /media/$(users)/bootfs/overlays/
$ sudo cp arch/arm64/boot/dts/overlays/README /media/$(users)/bootfs/overlays/
# you can use "make kernelversion" to check kernel version
# for Raspberry Pi OS (64-bit) 2023-12-06 [kernel 6.1.y]
$ sudo cp -ra modules/lib/modules/$(make kernelversion)-v8-tn-raspi/ /media/$(users)/rootfs/lib/modules/.
# for Raspberry Pi OS (64-bit) 2024-03-15 [kernel 6.6.y]
$ sudo cp -ra modules/lib/modules/$(make kernelversion)-v8-16k-tn-raspi/ /media/$(users)/rootfs/lib/modules/.
$ sync
Boot RPI4 with SD card.
Modify the config.txt file to add the camera configuraion.
$ sudo nano /boot/firmware/config.txt

# Automatically load overlays for detected cameras
> camera_auto_detect=0
> dtoverlay=tevs-rpi15,media-controller=0
Modify camera_auto_detect=0 and add dtoverlay=tevs-rpi15,media-controller=0 after the line.
Then Ctrl+s to save file and Ctrl+x to exit.
Ensure dependent modules loading order. (only for Raspberry Pi OS (64-bit) 2024-03-15 [kernel 6.6.y])
$ sudo touch /etc/modprobe.d/tevs.conf
$ sudo nano /etc/modprobe.d/tevs.conf
> softdep tevs pre: gpio_pca953x
Add a configuration file for loading dependent modules.
Then Ctrl+s to save file and Ctrl+x to exit.
Restart system.
$ sudo rebootBring up Camera by GStreamer
If you succeed in initialing the camera, you can follow the steps to open the camera.
Check the media deivce. (The /dev/mediaN node number may move as they are not fixed allocations).
For "Raspberry Pi OS (64-bit) 2023-12-06 [kernel 6.1.y]":
$ media-ctl -d /dev/mediaN -p
Device topology
- entity 1: tevs 10-0048 (1 pad, 1 link)
            type V4L2 subdev subtype Sensor flags 0
            device node name /dev/v4l-subdev0
        pad0: Source
                [fmt:UYVY8_2X8/640x480@1/30 colorspace:srgb xfer:srgb ycbcr:601 quantization:full-range
                 crop.bounds:(0,0)/640x480
                 crop:(0,0)/640x480]
                -> "unicam-image":0 [ENABLED,IMMUTABLE]

- entity 3: unicam-image (1 pad, 1 link)
            type Node subtype V4L flags 1
            device node name /dev/video0
         pad0: Sink
                <- "tevs 10-0048":0 [ENABLED,IMMUTABLE]
For "Raspberry Pi OS (64-bit) 2024-03-15 [kernel 6.6.y]":
$ media-ctl -d /dev/mediaN -p
Device topology
- entity 1: tevs 10-0048 (1 pad, 1 link)
            type V4L2 subdev subtype Sensor flags 0
            device node name /dev/v4l-subdev0
        pad0: Source
                [fmt:UYVY8_1X16/640x480@1/30 field:none colorspace:srgb xfer:srgb ycbcr:601 quantization:full-range
                 crop.bounds:(0,0)/640x480
                 crop:(0,0)/640x480]
                -> "unicam-image":0 [ENABLED,IMMUTABLE]

- entity 3: unicam-image (1 pad, 1 link)
            type Node subtype V4L flags 1
            device node name /dev/video0
        pad0: Sink
                <- "tevs 10-0048":0 [ENABLED,IMMUTABLE]
Install GStreamer.
$ sudo apt-get install -y libgstreamer1.0-dev libgstreamer-plugins-base1.0-dev \
libgstreamer-plugins-bad1.0-dev gstreamer1.0-plugins-base gstreamer1.0-plugins-base-apps \
gstreamer1.0-plugins-good gstreamer1.0-plugins-bad gstreamer1.0-plugins-ugly \
gstreamer1.0-libav gstreamer1.0-tools gstreamer1.0-x gstreamer1.0-alsa \
gstreamer1.0-gl gstreamer1.0-gtk3 gstreamer1.0-pulseaudio
Bring up the camera (/dev/video0) with 640x480 by Gstreamer pipeline.
$ DISPLAY=:0 gst-launch-1.0 v4l2src device=/dev/video0 ! \
"video/x-raw, format=(string)UYVY, width=(int)640, height=(int)480" ! \
fpsdisplaysink video-sink=glimagesink sync=false
Change resolution with 1280x720 and bring up by Gstreamer pipeline directly.
$ DISPLAY=:0 gst-launch-1.0 v4l2src device=/dev/video0 ! \
"video/x-raw, format=(string)UYVY, width=(int)1280, height=(int)720" ! \
fpsdisplaysink video-sink=glimagesink sync=false
Troubleshooting
WIKI Pages
Was this article helpful?